Pihole
What is Pihole?
Here is a link to the official Pihole documentation page.
Prerequisites
- Raspberry Pi.
- Ethernet Cable.
- micro SD card (to install the OS).
- An Internet connection.
Installation and Setup
To start the installation process for Pihole we need to open a terminal and run the below command.
$ curl -sSL https://install.pi-hole.net | bash
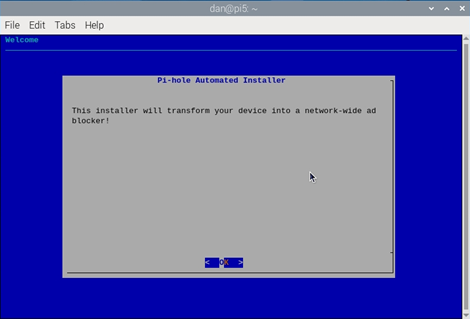
Once the installation starts you should see the below screen, press Enter (OK) to continue.
When it asks if you want to donate, hit Enter (OK).
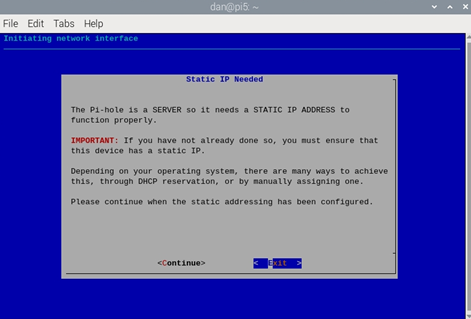
The installation wizard will then display a message about setting up a static IP address. You can do this on the Raspberry Pi by using the network manager tool which usually comes pre-installed. See the below link for installing and configuring Network Manager if you don’t have it already.
Network Manager InstallContinue if a static IP is already setup by pressing Enter (Continue). You will then be asked to choose an Upstream DNS provider. Select one and press Enter (OK). More info about PiHole’s Upstream DNS Providers can be found by clicking here
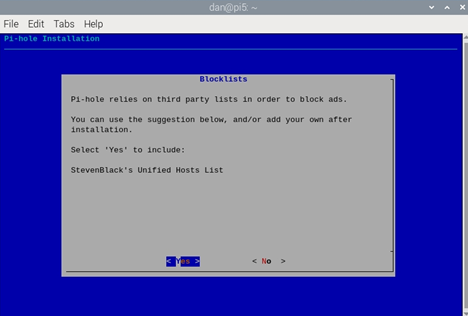
You will then be asked if you want to use the default blocklist – this is the list of domains that PiHole will block for us. More can be added later. Choose Yes and press Enter.
The next screen will ask if you want to install the admin web interface for Pihole. This allows to view query logs and change/add blocklists among other things, as well as perform other management tasks.
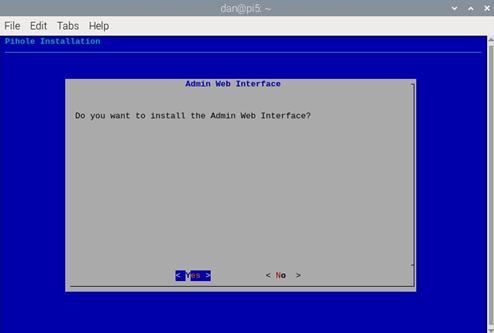
The admin web interface requires a web server to be installed, Pihole suggests lighttpd. If you don't already have one setup you can just choose Yes and press Enter.
If you do have one setup, select No and continue with the installation. If you are using Apache follow the below steps:
Again, this assumes you have a static IP address setup, as mentioned above.
- Once the PiHole installation process has finished, open a terminal. Enter the below command.
- Then run the below command to install the PHP modules.
- Restart Apache with the below command.
$ sudo usermod -a -G pihole www-data
$ sudo apt install php-sqlite3
$ sudo service apache2 restart
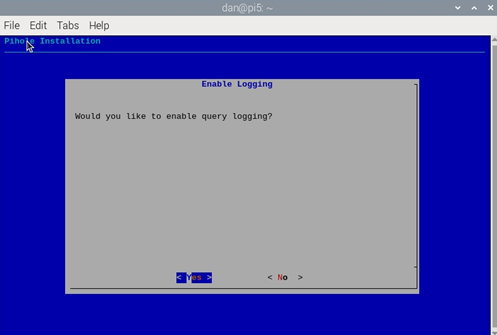
Next the installation wizard will ask if you want to setup query logging. If you don’t want any of your DNS Lookups logged you can choose No, otherwise choose Yes and press Enter.
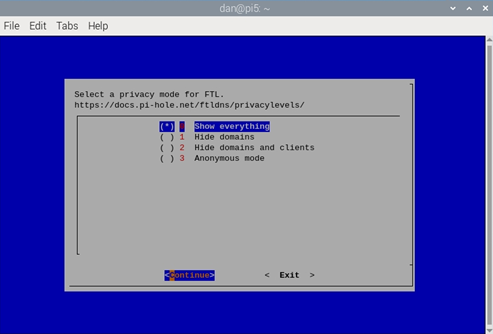
On the following screen you can choose your desired level of privacy. You can read further information about what each of these mean here.
The setup should now be complete, unless you are going to install the web admin interface on a different web server to the default lighttpd server. At the next screen you can choose OK and hit Enter.
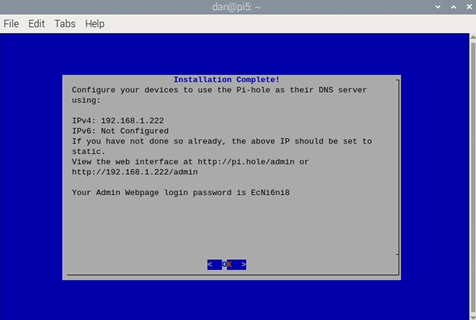
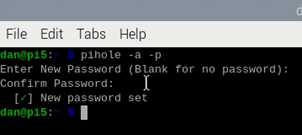
You don't need to make a note of the admin password on the above page. This can be changed after completing the installation using the below command:
$ pihole –a –p
Now the installation is finshed, you should be open a browser up and enter the IP address of your Raspberry Pi into the URL bar as below.
http://ip-address/admin
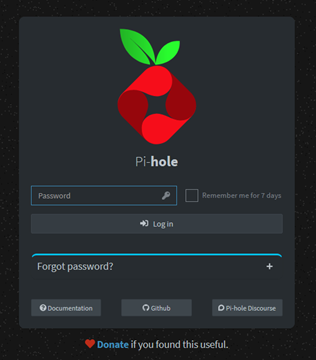
You should then see the below screen where you can log in with your new admin password.
You will now need to edit the DNS settings within each of your devices and add the IP address of the Raspberry Pi to enable Pihole to start blocking ad domains. This can also be done network-wide by adding the address of our Pihole as the DNS address on the router itself, if your router has that capability.
It is also advised to setup Unbound and configure Pihole to use it for DNS requests which will add another layer of privacy to your web browsing.